
Choosing between an acrylic vs fibreglass sunvisor is one of the most important decisions 4WD owners and fleet operators face when upgrading their vehicle for outback touring and highway glare protection. Both materials offer distinct structural characteristics, aesthetic finishes, and weight profiles, but understanding how they perform under harsh ultraviolet radiation and high-speed wind loads is vital. Evaluating an acrylic vs fibreglass sunvisor comparison ensures your investment delivers long-term durability, weather resistance, and rattle-free stability across corrugated tracks.
For builders outfitting modern dual-cab utes and workhorses, analyzing the acrylic vs fibreglass sunvisor debate involves balancing optical transparency, impact resistance, thermal expansion coefficients, and painting requirements. Whether you prefer the sleek smoke-tinted look of cast optical acrylic or the rigid, color-matched solidity of hand-laid fibreglass, making an informed choice requires a deep dive into material science.
In this comprehensive technical guide, we evaluate the acrylic vs fibreglass sunvisor dilemma across 5 critical performance factors. From impact resilience and UV stability to weight distribution and weather-sealing protocols, this guide provides the ultimate engineering comparison for your vehicle upgrade.
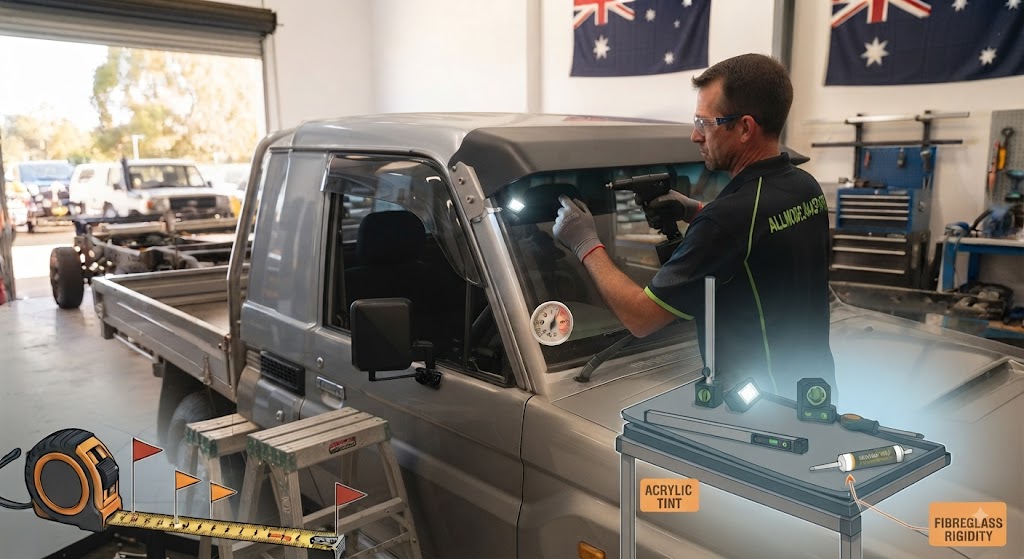
Understanding how different visor materials handle aerodynamic drag and mechanical vibration is essential when reviewing an acrylic vs fibreglass sunvisor setup.
            [ Structural Architecture: Acrylic vs Fibreglass Sunvisor ]
                                         │
  ┌──────────────────────────────────────┴──────────────────────────────────────┐
  ▼                                                                             ▼
[ Optical Cast Acrylic (PMMA) Visor Systems ]                   [ Hand-Laid Fibreglass (GRP) Visor Systems ]
• 4.5mm UV-stabilized flexible polymer shield                   • Multi-ply woven glass-fibre reinforced resin
• Tapered lead edge flexes smoothly under high wind load        • Rigid composite structure matched to vehicle paint
• Filters 90% of solar glare while maintaining transparency     • 100% opaque solid shade blocks all overhead sunlight
• Requires precision stainless side bracket isolation           • Demands heavy-duty mounting and color-matched gelcoat
When comparing an acrylic vs fibreglass sunvisor, the fundamental difference lies in how each material responds to stress. Cast optical acrylic features natural flexural memory, allowing the shield to absorb high-speed wind buffeting without fracturing. Conversely, a fibreglass (Glass Reinforced Plastic – GRP) visor provides an exceptionally rigid, solid body that can be color-matched directly to factory 2-pack automotive paint.
However, each option in an acrylic vs fibreglass sunvisor evaluation requires meticulous installation protocols. Both systems demand stainless steel mounting brackets, neutral-cure polyurethane sealants, and EPDM rubber isolation pads to prevent pillar paint chafing and water ingress during heavy downpours.
Reviewing these 5 critical factors will help you determine which visor material best suits your driving style and environment:
When evaluating an acrylic vs fibreglass sunvisor, optical acrylic offers a dark smoke tint that filters 90% of glare while preserving driver visibility, whereas fibreglass is completely opaque.
In an acrylic vs fibreglass sunvisor crash or branch-strike test, flexible cast acrylic absorbs minor impacts without shattering, while rigid fibreglass can crack under sharp point loads.
Reviewing thermal properties in an acrylic vs fibreglass sunvisor matchup shows that high-grade UV-stabilized acrylic resists yellowing, while gelcoated fibreglass requires periodic polishing to prevent surface chalking.
Comparing weight in an acrylic vs fibreglass sunvisor study highlights that acrylic shields are lighter (2.5 kg to 4 kg), placing less dynamic stress on A-pillar door jambs than heavy fibreglass shells.
Analyzing styling within an acrylic vs fibreglass sunvisor decision reveals that fibreglass allows seamless color-matching to factory cab paint, whereas acrylic provides a classic smoke-tinted contrast.
Reviewing this detailed specification table helps clarify the acrylic vs fibreglass sunvisor performance differences:
| Technical Specification | Optical Cast Acrylic Visor | Hand-Laid Fibreglass (GRP) Visor | High-Impact Polycarbonate Visor | Woven Stainless Steel Mesh |
| Material Composition | 4.5mm PMMA Cast Polymer | Multi-ply Glass Cloth & Resin | 4.0mm Thermoplastic Sheet | 1.5mm 316 Stainless Wire |
| Average Weight Range | 2.5 kg – 4.0 kg | 4.5 kg – 7.0 kg | 2.2 kg – 3.8 kg | 3.0 kg – 5.0 kg |
| Light Transmission | 10% – 15% (Dark Smoke) | 0% (Opaque Solid Block) | 15% – 20% Tinted View | 25% Filtered Mesh |
| Flexural Resilience | High (Absorbs Wind Flex) | Low (Rigid Non-Flex Body) | Very High (Shatterproof) | Moderate (Wire Flexing) |
| Paint & Finish Options | Smoke Tint or Clear Gloss | Color-Matched 2-Pack Paint | Tinted Transparent | Raw or Powder-Coated |
| Corrosion Resistance | Inert Polymer (Zero Rust) | Inert Composite (Zero Rust) | Inert Polymer (Zero Rust) | High (Stainless Steel) |
| Overall Selection Rating | Top Touring Choice | Heavy Commercial Choice | Alternative Polymer | Specialist Retro Fit |
Analyzing material science in an acrylic vs fibreglass sunvisor comparison explains how each compound withstands severe environmental extremes.
          [ Material Engineering: Acrylic vs Fibreglass Sunvisor ]
                                     │
  ┌──────────────────────────────────┴──────────────────────────────────┐
  ▼                                                                     ▼
[ Cast Optical Acrylic (PMMA) Science ]                 [ Hand-Laid Fibreglass (GRP) Science ]
• Molecular structure maintains optical clarity across heat cycles      • Woven glass strands bonded with polyester resin matrix
• Flexible polymer memory prevents cracking under wind pressure          • Gelcoat surface layer seals composite fibers against moisture
• Natural UV inhibitors prevent sun yellowing and crazing                • Exceptional rigidity prevents high-speed aerodynamic flutter
• Smooth surface sheds road dust and driving rain effectively           • Can be sanded, repaired, and color-matched easily
In any acrylic vs fibreglass sunvisor analysis, cast acrylic stands out for its superior weather-weathering and optical properties. High-grade PMMA maintains its structural shape across extreme temperature swings from freezing mountain conditions to scorching desert heat. Its flexible memory ensures that aerodynamic wind pressure is absorbed evenly without transferring shock loads into the vehicle’s roof sheet metal.
Conversely, fibreglass excels in applications requiring absolute rigidity and custom exterior styling. During an acrylic vs fibreglass sunvisor assessment, commercial operators often favor fibreglass because it can be repaired easily with resin and fiberglass matting if damaged by low-hanging tree branches on remote tracks. Furthermore, its rigid frame eliminates any possibility of flex-induced vibration at highway speeds.
Follow this structured practical sequence to complete your acrylic vs fibreglass sunvisor installation safely and efficiently.
1.Inspect Component Inventory and Prepare Cab Surfaces:Unpack visor, check for surface defects, and clean A-pillars.
Unpack your visor kit and check the shield for blemishes. Clean the vehicle roofline and A-pillar door jambs with isopropyl alcohol to prepare for your acrylic vs fibreglass sunvisor fitting.
2.Align Visor Shield and Mark Pilot Hole Locations:Position visor assembly, check side margins, and mark hole coordinates.
Dry-fit the visor assembly across the top windscreen edge, measure side clearances to ensure exact centering, and mark bracket hole coordinates onto the pillar sheet.
3.Drill Pillar Holes and Apply Water Barrier Sealant:Drill pilot holes using depth stops and inject neutral-cure polyurethane.
Drill pilot holes into the marked A-pillar locations using a cobalt bit fitted with a depth stop. Fill each drill hole with marine polyurethane sealant to protect against rust.
4.Mount Side Support Brackets and Center Windstay:Insert rubber pads, attach side brackets, and secure stainless fasteners.
Place EPDM rubber pads beneath the side brackets and fasten them securely with stainless blind rivets or nutserts. Secure the central windstay to complete structural mounting.
5.Mount Visor Shield, Torque Hardware, and Inspect:Position shield into brackets, tighten locknuts, and test security.
Insert the visor shield into its bracket slots, torque stainless button-head screws with nylon locknuts to specification, peel off protective film, and inspect your completed installation.
explore our complete range of 4x4 armor, side steps, and rock sliders
Every completed visor installation must satisfy national transport regulations. In Australia, exterior vehicle body attachments are regulated by standards published by the Federal Register of Legislation under Australian Design Rules ADR 12/00 (Glare Reduction in Field of View) and ADR 42/00 (General Safety Requirements).
                  [ ADR Safety Compliance Criteria ]
                                    │
   ┌────────────────────────────────┼────────────────────────────────┐
   ▼                                ▼                                ▼
[ Forward Field of View Standards ] [ Maximum Vehicle Projection ]   [ Edge Radius & Safety Rules ]
• Must not obscure driver view    • Must not extend beyond the      • All exposed bracket edges
  of traffic control signals        outer width of door mirrors       must have minimum 2.5mm radius
Maintaining your exterior visor preserves optical transparency and prevents surface scratches over years of service.