
Fitting a custom fibreglass sun visor is widely considered the ultimate upgrade for 4WD owners seeking total outback glare protection, maximum structural durability, and a clean, color-matched cab aesthetic. Unlike standard mass-market plastic shades, a custom fibreglass sun visor is constructed from high-density glass-reinforced plastic (GRP) composites, offering superior rigidity and impact resistance against highway debris. Selecting a custom fibreglass sun visor allows you to seamlessly paint the unit to match your vehicle’s factory color code, creating an integrated OEM-style finish across the upper windscreen roofline.
For long-distance touring enthusiasts, fleet drivers, and heavy-duty trade operators, installing a custom fibreglass sun visor addresses the harsh solar glare encountered on early morning and late afternoon outback runs. Because a custom fibreglass sun visor extends over the top edge of the windscreen, it blocks direct blinding light before it enters the cabin, significantly reducing interior thermal buildup and eye strain. Whether you drive a Toyota LandCruiser 70 Series, Nissan Patrol Y61, Ford Ranger, or Isuzu D-Max, learning how to mount a custom fibreglass sun visor guarantees long-term weather sealing, zero wind chatter, and complete chassis compliance.
In this ultimate technical installation guide, we break down the 7 primary steps to fit a custom fibreglass sun visor effortlessly. From prepping composite gelcoat surfaces and aligning side pillar mounting brackets to injecting neutral-cure marine polyurethanes and testing highway aerodynamics, this guide gives you the complete framework for your custom fibreglass sun visor project.
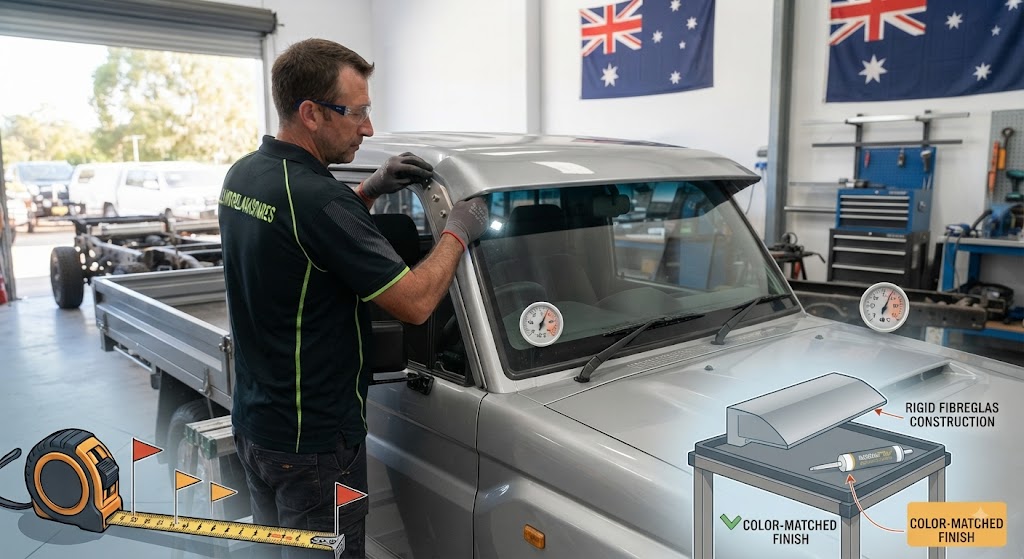
Understanding the mechanical properties and composite dynamics of a custom fibreglass sun visor is key to securing a vibration-free fit that protects cab sheet metal.
            [ Technical Architecture of a Custom Fibreglass Sun Visor Build ]
                                           │
  ┌────────────────────────────────────────┴────────────────────────────────────────┐
  ▼                                                                                 ▼
[ Multi-Layer Molded GRP Composite Canopy ]                         [ Heavy-Duty Stainless A-Pillar Bracket Matrix ]
• 3.5mm-5.0mm hand-laid glass-reinforced plastic                    • Laser-cut 304-grade stainless structural mounting plates
• UV-resistant sandable white gelcoat primer base                   • Stainless blind rivets or pneumatic expansion nutserts
• Aerodynamic lead lip channels wind pressure smoothly              • Marine-grade neutral-cure polyurethane waterproof barrier
• Molded internal ribbing eliminates high-speed flutter             • EPDM rubber isolation gaskets eliminate metal-on-paint friction
A high-performance custom fibreglass sun visor uses hand-laid GRP resin matrices reinforced with internal structural ribbing. This construction gives a custom fibreglass sun visor structural rigidity that prevents flex or flutter at 110 km/h highway speeds. While lightweight acrylic visors can bend under heavy wind resistance, a custom fibreglass sun visor holds its aerodynamic shape, guiding airflow cleanly over the vehicle’s roofline.
Securing a custom fibreglass sun visor requires attaching heavy-duty stainless steel side brackets into the vehicle’s A-pillar door jambs or outer roof channels. Because a custom fibreglass sun visor carries slightly higher mass than thin acrylic units, distributing mounting loads across multiple fastener coordinates prevents localized sheet metal fatigue. Combining structural stainless hardware with EPDM rubber isolation gaskets ensures your custom fibreglass sun visor stays rock-solid while absorbing severe offroad track chatter.
Follow these 7 core installation steps to fit a custom fibreglass sun visor cleanly without damaging your vehicle’s paintwork or roof pillars:
Before mounting your custom fibreglass sun visor, sand the gelcoat primer with 600-grit wet-and-dry paper if you plan to paint the custom fibreglass sun visor to match your 4WD’s body color.
Position the custom fibreglass sun visor across the upper windscreen frame. Measure distance margins from both A-pillars to ensure the custom fibreglass sun visor sits completely centered.
While holding the custom fibreglass sun visor in position, use a fine felt marker to trace mounting bracket hole locations on the outer pillar sheet metal.
Drill pilot holes through the marked A-pillar points using a cobalt step bit. Using a depth stop prevents your bit from punching into internal wiring harnesses during custom fibreglass sun visor fitment.
Inject a generous bead of neutral-cure marine polyurethane sealant into every drilled hole to ensure your custom fibreglass sun visor installation will never leak or cause hidden pillar rust.
Place EPDM rubber gaskets under the side brackets of your custom fibreglass sun visor, then secure the brackets using high-shear stainless blind rivets or heavy-duty nutserts.
Bolting the custom fibreglass sun visor body into its side mounting brackets completes the setup. Re-torque all stainless fasteners to ensure your custom fibreglass sun visor remains completely secure.
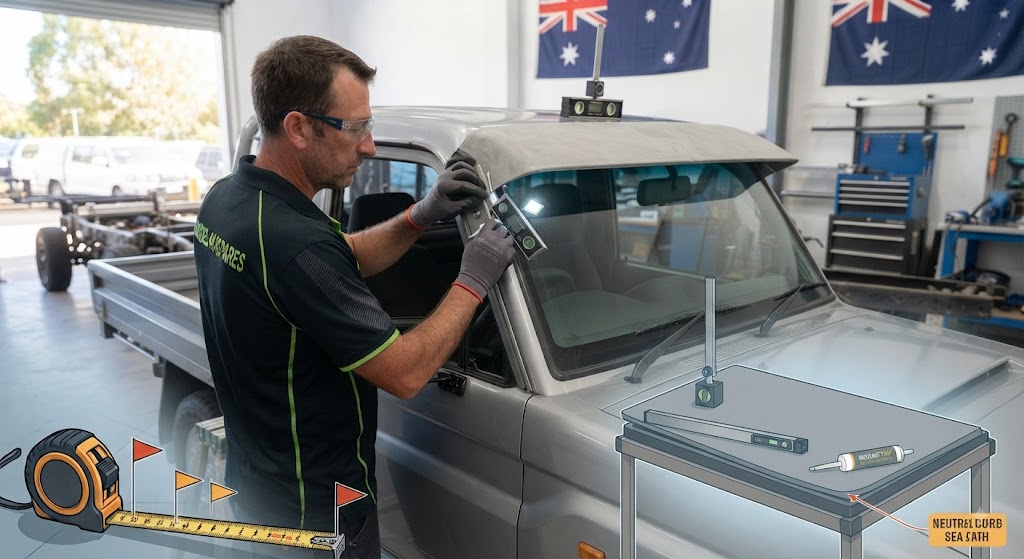
Reviewing material specifications highlights why choosing a custom fibreglass sun visor provides superior performance for tough touring setups:
| Technical Feature / Metric | Custom Fibreglass Sun Visor | Optical Tinted Acrylic | Molded Polycarbonate | Stainless Steel Mesh |
| Material Base | Hand-Laid GRP Composite | Cast Acrylic (PMMA) | Extruded Polycarbonate | Woven 304 Stainless |
| Average Structural Weight | 4.2 kg – 6.5 kg | 2.5 kg – 3.8 kg | 2.2 kg – 3.5 kg | 3.5 kg – 5.2 kg |
| Color Customization | Full Paint Matchable | Fixed Smoke Tint | Fixed Tint / Clear | Polished / Powdercoat |
| High-Speed Flex Resistance | Maximum (Zero Flutter) | Moderate Flex | High Flex | High Flex |
| Solar Glare Rejection | 100% Solid Shade | 85% Light Reduction | 80% Light Reduction | 65% Light Filter |
| Impact Shell Resistance | Extreme (Stone Resistant) | Moderate | High | High |
| Expected Lifespan | 15+ Years (Indefinite) | 5 – 8 Years | 5 – 7 Years | 10+ Years |
Evaluating material science reveals why a custom fibreglass sun visor outperforms standard molded plastic accessories over long touring lifetimes.
          [ Material Engineering for a Custom Fibreglass Sun Visor ]
                                     │
  ┌──────────────────────────────────┴──────────────────────────────────┐
  ▼                                                                     ▼
[ Reinforced Glass Fiber Laminate Matrix ]               [ Isophthalic Gelcoat Outer Surface Layer ]
• Woven roving glass strands bound by polyester resin    • Provides a smooth, non-porous chemical barrier
• Offers structural strength comparable to sheet metal   • Highly resistant to UV degradation and color fading
• Absorbs engine vibration without stress fracturing      • Sandable foundation accepts custom body paint colors
• Retains dimensional shape in extreme desert temperatures • Impervious to salt spray, rain, and offroad chemical exposure
The core structure of a custom fibreglass sun visor consists of multiple layers of woven glass-fiber matting saturated in high-grade polyester or vinyl-ester resins. This composite matrix creates a lightweight yet rigid structure. A custom fibreglass sun visor handles extreme thermal swings—from freezing mountain environments to +50°C desert heat—without expanding, warping, or cracking.
A major advantage of a custom fibreglass sun visor is its gelcoat outer layer. Unlike acrylic or polycarbonate units that come in fixed transparent tints, the gelcoat on a custom fibreglass sunvisor can be block-sanded, primed, and spray-painted with 2-pack automotive polyurethane paint. This allows you to match your custom fibreglass sunvisor directly to your vehicle’s factory paint code for a seamless finish.
Follow this practical step sequence to ensure your custom fibreglass sunvisor project goes smoothly from prep to final check.
1.Unpack Components and Inspect Fibreglass Canopy:Unpack canopy, check GRP gelcoat surface, and prep mounting areas.
Unpack your kit and check the GRP gelcoat surface for smooth uniformity. Clean the cab roofline and A-pillar door jambs to prepare for your custom fibreglass sunvisor installation.
2.Align Canopy and Trace Bracket Hole Coordinates:Position visor on windscreen, verify side gaps, and mark drill points.
Place the custom fibreglass sunvisor across the windscreen frame, verify side gap measurements for proper centering, and mark your drill coordinates onto the pillar metal.
3.Drill Pillar Holes and Inject Waterproof Sealant:Drill pilot holes using depth collars and fill holes with sealant.
Drill pilot holes through the marked coordinates using a cobalt bit fitted with a depth stop. Fill each drill hole with neutral-cure marine sealant before mounting your custom fibreglass sunvisor.
4.Mount Stainless Side Brackets and Rubber Isolation Gaskets:Fit EPDM pads, align stainless side brackets, and expand rivets.
Position EPDM rubber gaskets under the stainless brackets and secure them using blind rivets or nutserts to build a stable mounting base for your custom fibreglass sunvisor.
5.Secure Visor Canopy, Torque Hardware, and Inspect:Bolt GRP canopy to brackets, torque fasteners, and perform road test.
Bolt the custom fibreglass sunvisor body into its side brackets, torque all stainless button-head fasteners with nylon locknuts, clean the composite shell, and test for stability.
explore our complete range of 4x4 armor, side steps, and rock sliders
Installing a custom fibreglass sunvisor requires strict adherence to national road safety laws. In Australia, vehicle body accessories must comply with rules published by the Federal Register of Legislation under Australian Design Rules ADR 12/00 (Glare Protection) and ADR 42/00 (General Safety Requirements).
                  [ ADR Safety Compliance Rules ]
                                    │
   ┌────────────────────────────────┼────────────────────────────────┐
   ▼                                ▼                                ▼
[ Forward View Limits ]          [ External Width Boundaries ]    [ Edge Radius Regulations ]
• Must not block driver view    • Bracket mounts must not extend  • All external brackets and
  of overhead traffic signals     beyond side mirror width          edges must have 2.5mm radius
Properly maintaining your custom fibreglass sun visor preserves its finish and structural integrity over years of touring.
Examining real-world installations shows how adding a custom fibreglass sun visor improves touring comfort and vehicle utility:
Keep this practical checklist in mind when choosing and fitting a custom fibreglass sun visor:
Fitting a custom fibreglass sun visor provides your vehicle with outstanding glare reduction, heat defense, and rugged offroad style built to handle the toughest outback conditions!