
Optimizing your vehicle’s heavy duty ute tray kit payload capacity is the single most effective way to transform a standard light commercial utility into a high-performance workhorse or outback touring vehicle. Factory sheet metal tubs look stylish on showroom floors, but their thick double-walled curved wheel arches restrict flat floor area, add unnecessary tare weight, and limit overall load distribution. Replacing a factory bed with a modular flatbed allows you to maximize your heavy duty ute tray kit payload potential, ensuring that every kilogram of available Gross Vehicle Mass (GVM) is dedicated to usable gear, machinery, or camping setups rather than redundant bodywork.
For commercial contractors, fleet operators, and long-distance expeditioners, managing heavy duty ute tray kit payload metrics requires a balance between structural strength and tare weight reduction. By selecting a flatbed engineered with high-tensile subframe runners, precision crossmembers, and lightweight marine-grade alloys, you can carry heavier tools and equipment low to the chassis rails. Whether you operate a Toyota HiLux, Ford Ranger, Isuzu D-Max, or LandCruiser 79 Series, understanding the dynamics of heavy duty ute tray kit payload management ensures your vehicle maintains safe axle loading, optimal steering response, and long-term chassis durability.
In this ultimate technical guide, we break down 10 core strategies for maximizing heavy duty ute tray kit payload capacity. From subframe structural architecture and material selection to GVM compliance, weight distribution over the rear axle, and under-tray storage integration, this comprehensive guide provides the blueprint for your heavy duty ute tray kit payload build.
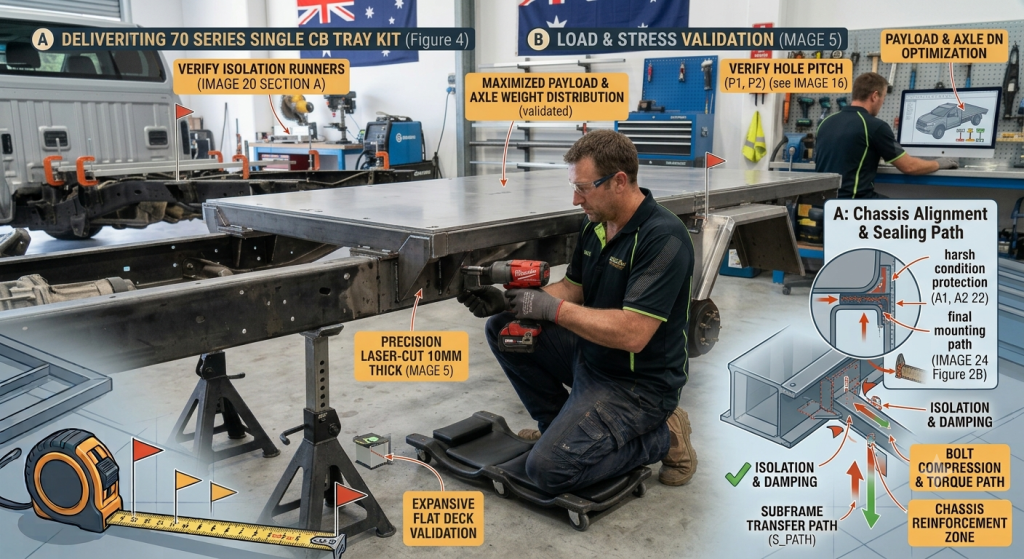
Understanding the load-bearing architecture of a flatbed subframe is essential for optimizing heavy duty ute tray kit payload distribution without causing frame fatigue.
            [ Mechanical Architecture of Heavy Duty Ute Tray Kit Payload ]
                                          │
  ┌───────────────────────────────────────┴───────────────────────────────────────┐
  ▼                                                                               ▼
[ Tare Weight Minimization Stage ]                               [ High-Stress Load Transfer Matrix ]
• High-strength 6061-T6 alloy or high-tensile steel RHS          • Transverse crossmembers spread point-loads across frame
• Eliminates restrictive double-walled OEM tub sheet metal        • Keeps heavy cargo mass low, reducing center of gravity
• Restores up to 80 kg of legal payload capacity to chassis       • EPDM rubber isolation pads absorb extreme track chatter
• Provides 100% square usable floor deck footprint                • Prevents localized chassis rail twisting and stress fatigue
A standard factory tub concentrates heavy loads between curved wheel arches, forcing cargo high or far behind the rear axle line. In contrast, an optimized heavy duty ute tray kit payload setup utilizes parallel longitudinal runners mounted directly to chassis brackets. Transverse crossmembers run perpendicular to these main runners, creating a rigid support lattice that distributes concentrated point-loads evenly across the vehicle’s ladder-frame chassis.
Additionally, integrating thick EPDM rubber isolation pads between the chassis tabs and tray subframe is a vital component of any heavy duty ute tray kit payload system. Isolation pads absorb high-frequency road vibrations and allow necessary chassis articulation when navigating cross-axle offroad terrain, preventing localized weld cracking and ensuring long-term heavy duty ute tray kit payload stability under full capacity.
Managing cargo weight and deck space effectively relies on sound engineering principles. Here are 10 key ways a flatbed installation enhances your heavy duty ute tray kit payload setup:
A flatbed design removes restrictive inner wheel arches, creating a 100% flat floor deck that maximizes usable heavy duty ute tray kit payload area for palleted goods, trade toolboxes, or slide-on campers.
By choosing lightweight marine-grade aluminum alloys, your heavy duty ute tray kit payload capacity increases because the tray itself weighs significantly less than traditional heavy steel options or tub structures.
Positioning heavy tools and recovery equipment flat on the deck floor during a heavy duty ute tray kit payload build lowers the vehicle’s overall center of gravity, improving high-speed cornering stability and offroad safety.
A flat platform lets you push dense cargo forward against the cab headboard, ensuring your heavy duty ute tray kit payload sits directly over or forward of the rear axle line to maintain balanced front steering traction.
Adding tapered under-tray boxes utilizes dead space beneath the deck floor, allowing you to organize heavy recovery gear into your heavy duty ute tray kit payload without occupying prime floor space.
Continuous perimeter rope rails and floor-recessed tie-down rings provide solid anchor points, keeping your heavy duty ute tray kit payload secure across corrugated washboard tracks.
The square geometry of a flatbed subframe provides a stable base for mounting removable canopy modules, expanding your heavy duty ute tray kit payload options for weather-protected touring.
A tapered rear skirt design increases ground clearance behind the rear wheels, protecting your heavy duty ute tray kit payload and chassis frame when negotiating steep offroad obstacles.
Mounting a flat, 50L to 80L poly water tank centrally beneath the tray deck adds vital fluid storage into your heavy duty ute tray kit payload without sacrificing top deck cargo volume.
Keeping subframe tare weight low during a heavy duty ute tray kit payload build helps keep your vehicle within legal Gross Vehicle Mass (GVM) and Gross Combined Mass (GCM) limits while towing heavy trailers.
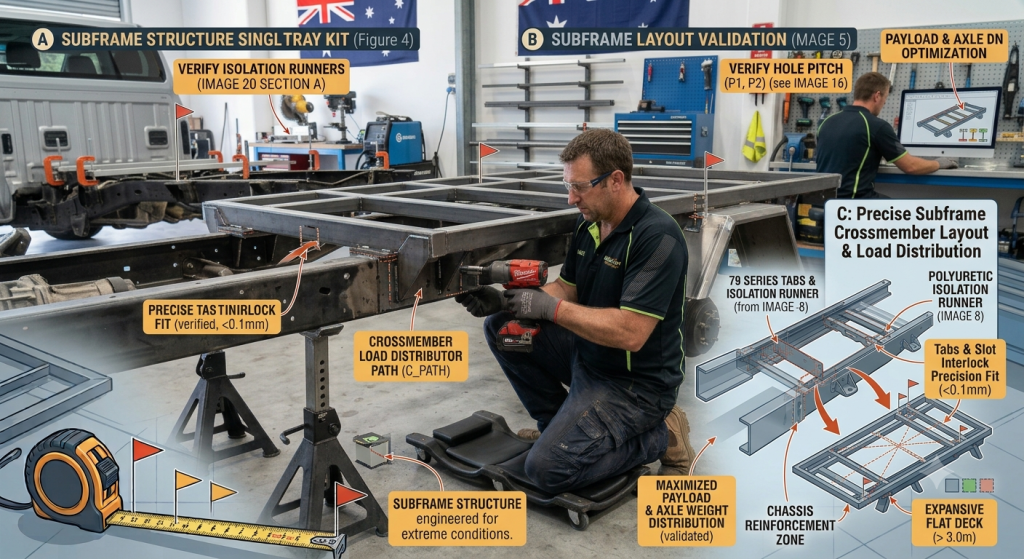
Evaluating structural metrics demonstrates how an optimized heavy duty ute tray kit payload setup compares across different vehicle configurations:
| Specification / Feature | Factory Sheet Metal Tub | Heavy Steel DIY Tray Kit | Lightweight Alloy DIY Tray Kit | Heavy Commercial Alloy/Steel Kit |
|---|---|---|---|---|
| Average Unladen Tare Mass | 110 kg – 140 kg | 180 kg – 240 kg | 85 kg – 130 kg | 140 kg – 180 kg |
| Usable Floor Deck Area | Restricted (Arches) | 100% Flat Platform | 100% Flat Platform | 100% Flat Platform |
| Max Static Deck Capacity | 600 kg – 800 kg | 1,800+ kg Static Load | 1,200+ kg Static Load | 1,600+ kg Static Load |
| Available GVM Payload Gain | Baseline Standard | -50 kg to -100 kg (Loss) | +30 kg to +80 kg (Gain) | Baseline Neutral |
| Under-Tray Storage Capability | Highly Restricted | Maximum Dual Box Space | Maximum Dual Box Space | Maximum Dual Box Space |
| Impact & Dent Resilience | Vulnerable Panel Sheet | Maximum Heavy Shield | High Impact Resilience | High Heavy Shield |
| Offroad Departure Angle | Low Standard Angle | Improved High Angle | Improved High Angle | Improved High Angle |
Selecting the right construction materials is a critical stage when planning a heavy duty ute tray kit payload build.
          [ Material Selection for Heavy Duty Ute Tray Kit Payload ]
                                     │
  ┌──────────────────────────────────┴──────────────────────────────────┐
  ▼                                                                     ▼
[ High-Tensile Structural Carbon Steel ]               [ Marine-Grade 6061-T6 Aluminum Alloy ]
• Maximum point-load strength for dense machinery      • Saves 60 kg to 100 kg of unladen tray weight
• Superior resistance to severe impact gouging         • Excellent natural barrier against salt air corrosion
• Ideal for heavy mining, masonry, and trade loads     • Maximize legal GVM payload margin for touring builds
• Requires multi-layer powder coat rust defense        • Requires rubber washers to prevent galvanic reaction
Choosing structural steel for a heavy duty ute tray kit payload build provides maximum yield strength and point-load resistance. Steel RHS main runners handle dense items—such as engine blocks, concrete bags, or timber pallets—without flexing. While a steel heavy duty ute tray kit payload setup adds more unladen tare weight to the chassis than an aluminum kit, its ruggedness on extreme offroad tracks makes it a top choice for commercial fleets.
For vehicle owners prioritizing legal payload margin, an aluminum heavy duty ute tray kit payload setup offers significant weight savings. High-strength 6061-T6 extruded aluminum floor planking reduces total tray tare weight by up to 45% compared to steel. An aluminum heavy duty ute tray kit payload build is naturally corrosion-resistant, making it ideal for coastal environments, beach driving, and long-range touring rigs carrying heavy canopy modules.
Follow this structured operational sequence to assemble your flatbed tray and maximize your heavy duty ute tray kit payload capacity safely.
1
Inspect Vehicle Mass Ratings and Establish Setup Baseline
Clear workspace, support chassis on jack stands, and measure axle centerline
1.Inspect Vehicle Mass Ratings and Establish Setup Baseline:Clear workspace, support chassis on jack stands, and measure axle centerline.
Park your vehicle on level concrete, support the frame on jack stands, and check factory GVM ratings. Measure axle centerlines to plan your heavy duty ute tray kit payload distribution properly.
2
Lay Isolation Pads and Position Subframe Main Runners
Position EPDM rubber pads on chassis mounts and lift longitudinal runners
2.Lay Isolation Pads and Position Subframe Main Runners:Position EPDM rubber pads on chassis mounts and lift longitudinal runners.
Lay heavy EPDM rubber isolation pads along the chassis brackets. Lift the main subframe runners into place to build a solid foundation for your heavy duty ute tray kit payload setup.
3
Assemble Subframe Crossmembers and Verify Squareness
Attach crossmembers loosely, verify diagonal squareness, and torque hardware
3.Assemble Subframe Crossmembers and Verify Squareness:Attach crossmembers loosely, verify diagonal squareness, and torque hardware.
Bolt or tack-weld crossmembers to the longitudinal runners. Measure diagonally corner-to-corner to ensure the subframe is perfectly square before torquing hardware for your heavy duty ute tray kit payload build.
4
Install Floor Deck Planking and Heavy Perimeter Rails
Lay alloy planking or steel floor, attach headboard, and fit rope rails
4.Install Floor Deck Planking and Heavy Perimeter Rails:Lay alloy planking or steel floor, attach headboard, and fit rope rails.
Secure floor deck planks onto the subframe starting against the front headboard. Attach perimeter coaming rails to lock in deck structure and ensure your heavy duty ute tray kit payload remains securely tied down.
5
Mount Accessories, Wire LED Lighting, and Final Check
Mount under-tray boxes, wire LED light harness, and perform final torque checks
5.Mount Accessories, Wire LED Lighting, and Final Check:Mount under-tray boxes, wire LED light harness, and perform final torque checks.
Fit tapered under-tray toolboxes, connect the rear LED light loom using weatherproof plugs, and torque all chassis bolts to specification to complete your heavy duty ute tray kit payload assembly.
:
explore our complete range of 4x4 armor, side steps, and rock sliders
Every completed heavy duty ute tray kit payload installation must comply with national transport regulations. In Australia, vehicle modifications are governed by standards published by the Federal Register of Legislation under Australian Design Rules ADR 13/00 (Installation of Lighting) and ADR 42/00 (General Safety Requirements).
                  [ ADR Safety Compliance Rules ]
                                     │
   ┌─────────────────────────────────┼─────────────────────────────────┐
   ▼                                 ▼                                 ▼
[ Maximum Rear Overhang Limits ]  [ Mudguard Coverage Rules ]       [ Rear Lamp Visibility Angles ]
• Must not exceed 60% of wheel    • Mudguards must cover full tire  • Tail lights must remain visible
  base or maximum 3.7 meters       tread width and 45-deg rear angle  at mandatory 45-degree angles
Protecting your flatbed structure ensures long service life and keeps your heavy duty ute tray kit payload capacity reliable over time.
Reviewing real-world applications demonstrates how different vehicle owners optimize their heavy duty ute tray kit payload capacity:
Use this practical summary checklist when planning your heavy duty ute tray kit payload build: